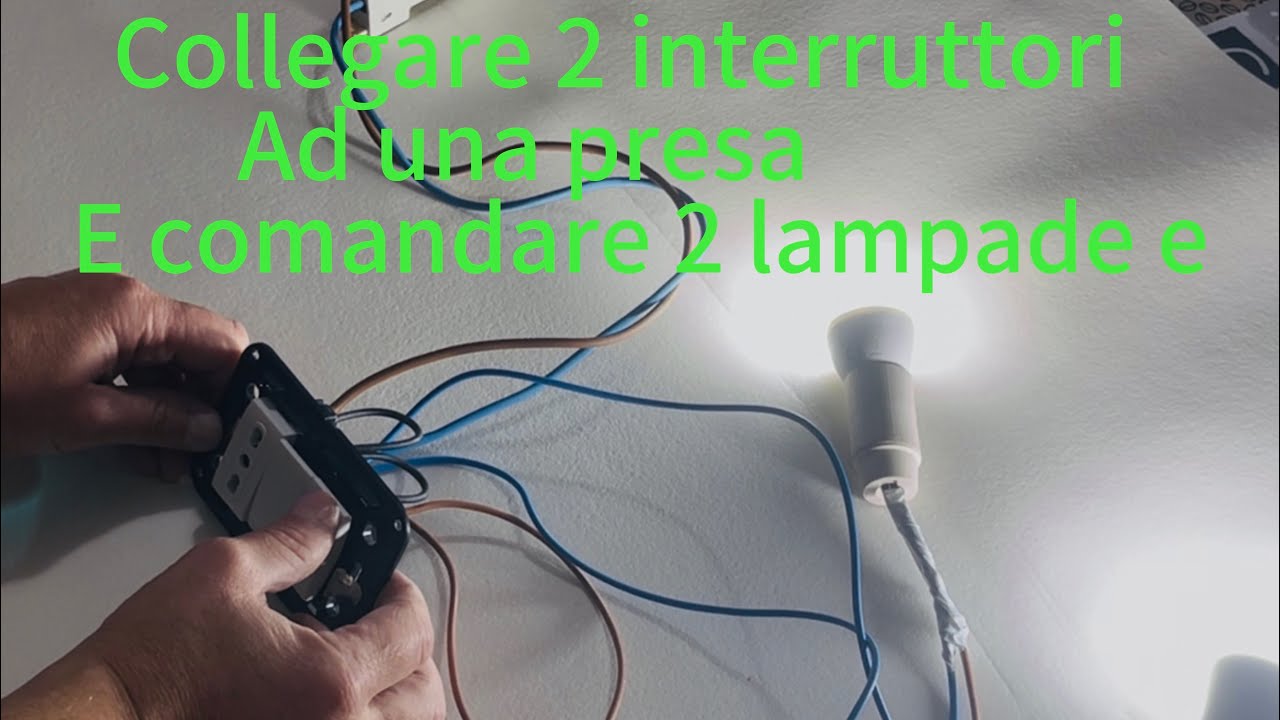
So, you know that feeling when you’re rummaging around in the attic, trying to find that box of old photos, and you trip over a… something? Yeah, me too. The other day, it was a tangled mess of wires and an old light fixture. My first thought was, “Ugh, future me is going to hate me for this.” But then, a little spark of curiosity (pun intended, wink wink) ignited. What if I could actually use this? What if I could connect those two dusty lamps I found last year to that single switch just sitting in the toolbox?
And so began my little DIY adventure. You see, I’m not exactly an electrician, more of a… enthusiastic tinkerer. My skills are usually limited to assembling IKEA furniture without too many leftover screws. But the idea of having two extra lights, controlled by one simple flick? That sounded pretty darn cool. And, let’s be honest, a little bit of power to the people (or at least, to the lamps) never hurt anyone, right?
The main idea here is pretty straightforward: we want to take a single power source, controlled by one switch, and distribute it to two separate lights. Think of it like a tiny, personal power grid in your living room. It’s not rocket science, and honestly, if I can figure it out, so can you!
Here’s the general gist of how we’ll do it:
- The Power Source: This is your main electricity coming from the wall. We’ll tap into it.
- The Switch: This is our obedient little soldier. It’s going to tell the lights when to turn on and off.
- The Lights: Our stars of the show! They’ll be waiting patiently for their moment in the spotlight.
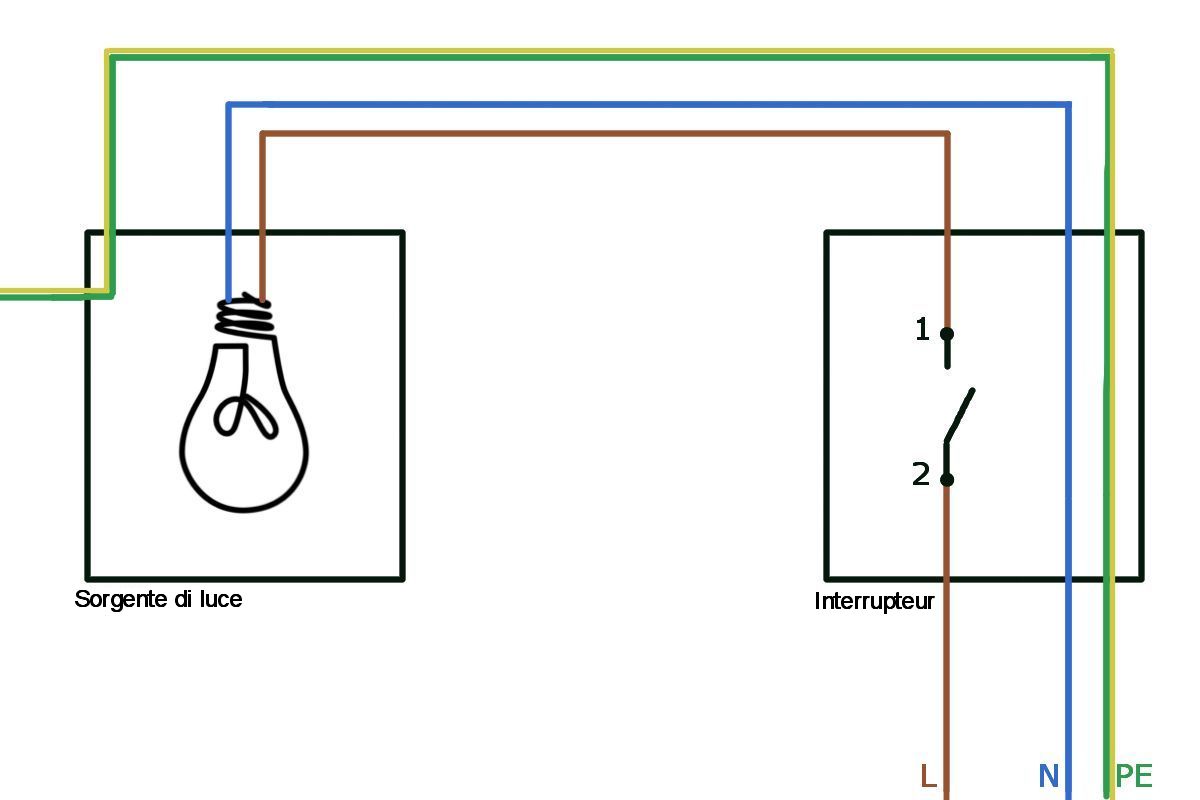
The magic happens with how we wire everything. We’re essentially creating a parallel circuit. Why parallel? Because if you wired them in series, and one bulb burned out, both would go dark. And nobody wants that! Parallel is where it’s at!
So, how do we achieve this parallelism? It’s all about splitting the power. Imagine the electricity as a river. The switch is the dam. When you open the dam, the river flows. In a parallel circuit, that river splits into two smaller streams, each leading to a different lamp. Both streams get the full flow of water (electricity) when the dam is open. Pretty neat, huh?
Before you even think about touching any wires, let me give you a friendly heads-up. Safety first, always! Electricity can be a bit… feisty. So, make sure the power is off at the main breaker. Seriously, triple-check it. Don’t be a hero who ends up needing a superhero. And if you’re feeling unsure, or if things look a bit… complex, there’s absolutely no shame in calling in a professional. They’re the real wizards, and your peace of mind is worth it!
But if you’re feeling brave and have a basic understanding of wiring, this is a totally achievable project. You'll need a few things, like:
- Your switch
- Your two lamps (or light fixtures)
- Some electrical wire (make sure it’s the right gauge!)
- Wire connectors (those little twisty things)
- A screwdriver (the trusty old friend)
- And maybe some electrical tape, just in case.
The core concept is simple: the power comes in, goes through the switch, and then splits off to each lamp. It’s like a traffic intersection for electricity, but way less stressful. I’m super excited to try this out myself, maybe in that creepy corner of the basement that always needs a little more light. Wish me luck!